If you’ve ever opened Skype to check in on someone halfway across the world, held a meeting that mattered, or typed out late-night conversations with someone you love, you know this isn’t just about software. It’s about memories. It’s about relationships. It’s about moments that happened in real time, through a glowing blue interface you probably didn’t think much about at the time.
Now, with Skype heading for shutdown in May 2025, you’re left with a quiet but urgent question: Will I lose all of it?
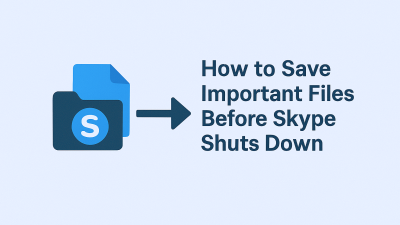
The good news is — no, you don’t have to. Microsoft has given users a window of time to export their Skype conversations and shared files before the app is retired for good. This guide is your map. We’re not going to dump instructions and walk away. We’re going to sit beside you and walk this out, step by step, calmly, clearly, and without pressure.
What You’ll Actually Be Able to Save from Skype (And What You Won’t)
When you request your Skype history, you’re pulling data from a deep archive that spans years, sometimes even decades. Microsoft allows you to export two main types of information: Conversations and Files.
The “Conversations” part includes not just your standard chats, but also Skype-to-SMS messages, shared locations, scheduled calls, voting polls, even old stickers and interactive cards from years back. If it was text-based and happened inside a Skype chat window, odds are it’s included.
Then there are the “Files”, the media side of things. These include the photos you dropped into chat threads, voice messages sent when someone missed your call, short video greetings, and even saved recordings of meetings or interviews, if you used Skype’s record feature.
What doesn’t come with the export? Live calls that weren’t recorded. Deleted messages. Messages sent on accounts you can no longer access. Also, if your conversations happened under a different Microsoft login and you’ve forgotten about it, those won’t show up in your download.
That’s why checking and confirming your Skype login, the one you’ve used consistently, is key before requesting any history.
Getting Ready to Request Your Skype History (Don’t Skip This)
Before jumping straight to the export tool, it’s worth setting the stage. Because while the process isn’t difficult, it can be frustrating if something doesn’t go right, and most of the issues happen before people even log in.
The first thing you need is access to the Microsoft account that’s tied to your Skype history. If you’re someone who has more than one email (and who doesn’t these days?), think back: which account did you use regularly with Skype? That’s the one that holds the data you’re about to ask for.
Once that’s settled, choose where you want the export to go. A desktop or laptop is ideal, something with enough space and speed to download larger files. Many longtime Skype users have shared files and messages for years without realizing how much has accumulated. You don’t want to do this on a mobile device or while using public Wi-Fi.
Finally, carve out a little quiet time. This doesn’t take hours, but you’ll want ten or fifteen minutes to walk through it without being pulled away. Once your request is in, the waiting begins, but that part happens in the background.
Step One: Accessing the Export Tool That Holds Your Skype Past

Microsoft doesn’t make a huge deal about this tool. It’s not featured on the main Skype homepage or highlighted inside the app. But it exists, and it works.
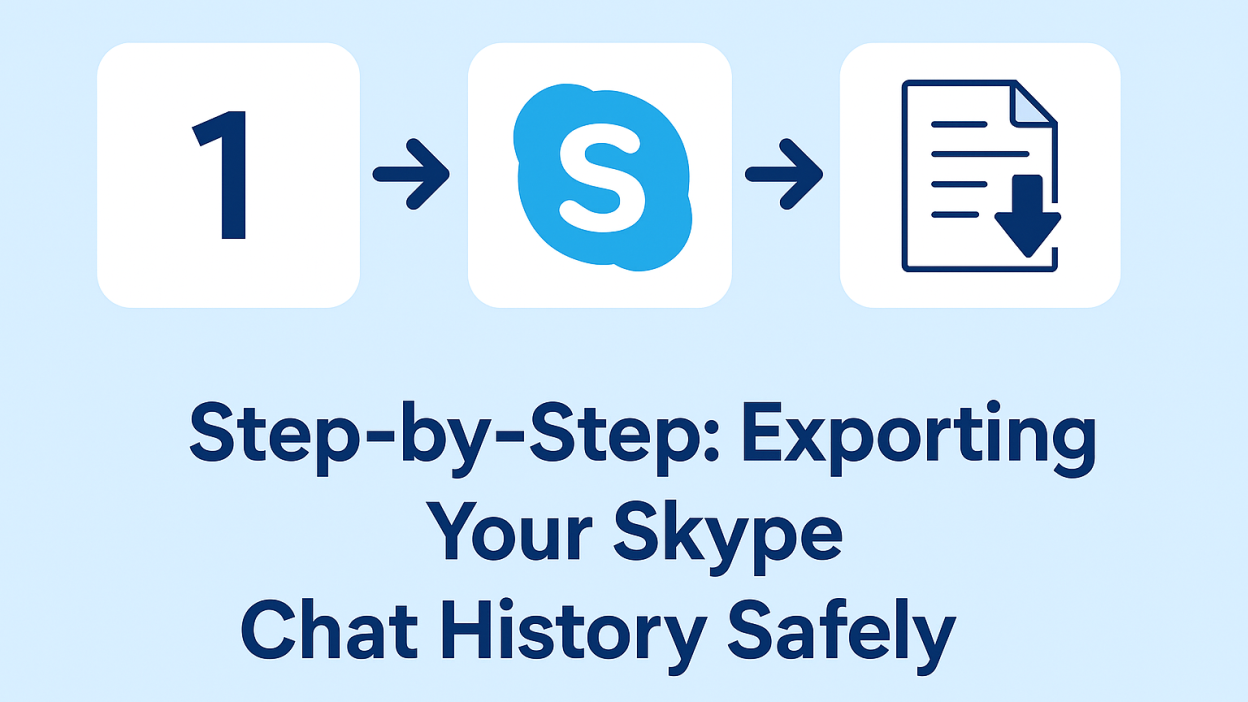
To begin, head to https://go.skype.com/export. You’ll land on a sparse, no-frills page asking for your Microsoft credentials. Once you sign in, the export process begins with a simple decision: what do you want to download?
You’ll be given two boxes, one for “Conversations” and one for “Files.” You can check one or both. Conversations include every message exchange, personal or professional, you’ve made while logged into Skype with that account. Files include anything attached or shared, images, voice notes, video messages, call recordings, and more.
Once you’ve made your selection, click the button to submit your request. Don’t expect a download right away. Microsoft processes the request in the background and then emails you a link once your export is ready. Depending on how much history you’ve got, this can take anywhere from a few minutes to several hours.
You don’t have to wait around staring at the screen. You can close the tab, walk away, make coffee, or go about your day. The moment the export is ready, you’ll get a message in your inbox telling you exactly where to download your file.
What to Expect from the File You’ll Receive
Once that download link arrives, you’ll be able to retrieve a .tar file, a common type of archive format similar to a .zip. If you’ve never dealt with a .tar file before, don’t worry. It’s just a container, like a folder zipped up to keep its contents safe.
Opening it is easy on most systems. If you’re using Windows, you can open it with tools like 7-Zip or WinRAR. Mac users can use The Unarchiver. These tools are free and take seconds to install.
Inside the archive, you’ll find one folder for conversations (usually formatted in HTML) and another for media. The conversation file can be opened directly in your browser; just double-click and start scrolling. You’ll see your chats displayed with timestamps, contact names, and a layout that feels surprisingly familiar. It might look a little plain, but the words are all there, from the silly to the serious.
Photos, audio clips, videos, they’ll be stored in separate subfolders, organized by date. It’s not flashy, but it’s real. This is your history, unfiltered.
What to Do With the File Once You’ve Downloaded It
Once your Skype export is on your computer, you’re holding years of messages and shared memories in one compressed folder. It may not look like much, just a .tar file sitting quietly in your Downloads — but inside, it’s a full record of your time on Skype.
To get to your chats, you’ll need to unpack that file. If you haven’t done this before, the process is straightforward. Windows users can use tools like 7-Zip or WinRAR. Mac users can grab The Unarchiver. Once installed, these programs let you open the file and extract everything inside with just a few clicks.
Inside, you’ll see two key folders: one that holds your conversations, and another that contains any media you shared, things like photos, audio clips, voice messages, and saved video calls.
The conversations themselves come in a file format most people don’t expect: HTML. But that’s a good thing. It means you can open your messages in any browser, Chrome, Firefox, or Safari, and read through them like a webpage. No special software, no code to interpret.
How to Read and Search Your Skype Conversations
Opening your conversation history feels a little like time travel. You’re not scrolling through a live chat window anymore, but the messages are all there, timestamped, sorted by contact, and waiting to be revisited.
To make the most of what you’ve saved, start with your browser’s search function. Once the HTML file is open, press Ctrl + F (or Cmd + F on Mac) to bring up a search bar. You can type in someone’s name, a keyword, or even a specific phrase to find moments buried deep in long conversations.
This can be especially useful if you’re looking for business information, addresses, personal notes, or anything that might have been casually mentioned in a chat years ago. You’ll be surprised how much you forgot was even there.
There’s no app to install, no syncing needed, just you, your browser, and a full archive of your own conversations.
Saving Specific Conversations or Threads in a More Portable Format
Maybe you don’t want to keep everything. Maybe you just want to preserve a few meaningful conversations, the ones that mattered the most.
That’s easy to do. Once you’ve opened your chat history in a browser, you can highlight any section of the conversation, copy it, and paste it into a document. If you prefer, you can print the entire page or use the “Save as PDF” option from your browser’s print settings. That way, you can keep certain threads as separate, shareable files.
This approach works well for:
-
Legal or professional records you need to archive
-
Family memories you want to store or print
-
Notes and links from projects you discussed on Skype
Some users even keep digital journals of their online conversations, personal scrapbooks of their digital life. You can do that too.
Backing Up Your Skype Archive So It’s Never Lost
Now that you’ve gone through the process of downloading and organizing your Skype data, the last thing you want is to lose it.
One of the smartest things you can do is create a second and even a third copy of your archive. Store one on your computer, another on a USB drive or external hard drive, and one in the cloud. Services like Google Drive, Dropbox, or OneDrive work perfectly for this.
Keep the folder name simple and recognizable, something like “Skype Archive – 2025 Export”, so you’ll know exactly what it is years from now.
Think of it like any other piece of personal history. Just like you wouldn’t want to lose a photo album or an old notebook, your digital conversations deserve the same care.
What to Do If Something’s Missing or the Export Didn’t Work
Sometimes things don’t go as planned. Maybe your export request never arrived. Maybe you opened the file, and it’s missing a conversation you really wanted. Or maybe you realized you were logged into the wrong Skype account when you made the request.
First, don’t panic. These situations are common, especially for users who’ve had multiple accounts or devices over the years.
You can submit another export request at any time, using a different login if needed. If you don’t remember which Microsoft account is tied to your old Skype chats, think about when you first signed up. Was it a work email? A personal one you no longer use? Start there.
If your request still doesn’t deliver, Microsoft’s support forums and help center can walk you through next steps. And in cases where the history is lost entirely, it’s okay to feel frustrated. But it’s also a reminder to act now, while Skype is still online and your access is still active.
When the Data Is Just Too Big: Managing Years of Skype Usage
Some people used Skype occasionally. Others used it daily, for business, for long-distance relationships, or for international family conversations.
If your export file feels overwhelming, it might help to break it down. Focus on one contact at a time. Sort your files by date or topic. Start a folder just for “important convos” or “family chats.” You don’t have to process everything all at once.
And you don’t have to keep everything. After reviewing the archive, you may decide to delete conversations that no longer serve you. That’s okay, too. The important thing is that you’re in control of what stays and what goes.
Some Final Perspective — This Is More Than Data
This whole process might seem like a lot of work to save some messages. But this isn’t just about data. It’s about connection.
Skype holds memories for people. The way a friend laughed in text. The late-night check-ins from a partner overseas. The family member who sent you a photo when they got their first smartphone. The project notes you typed at 2 a.m. while building something that mattered.
Exporting that history doesn’t mean clinging to the past. It means respecting what you built, shared, and lived through a platform that helped make it possible.
And now, even as Skype signs off, your part of that story doesn’t have to disappear with it.